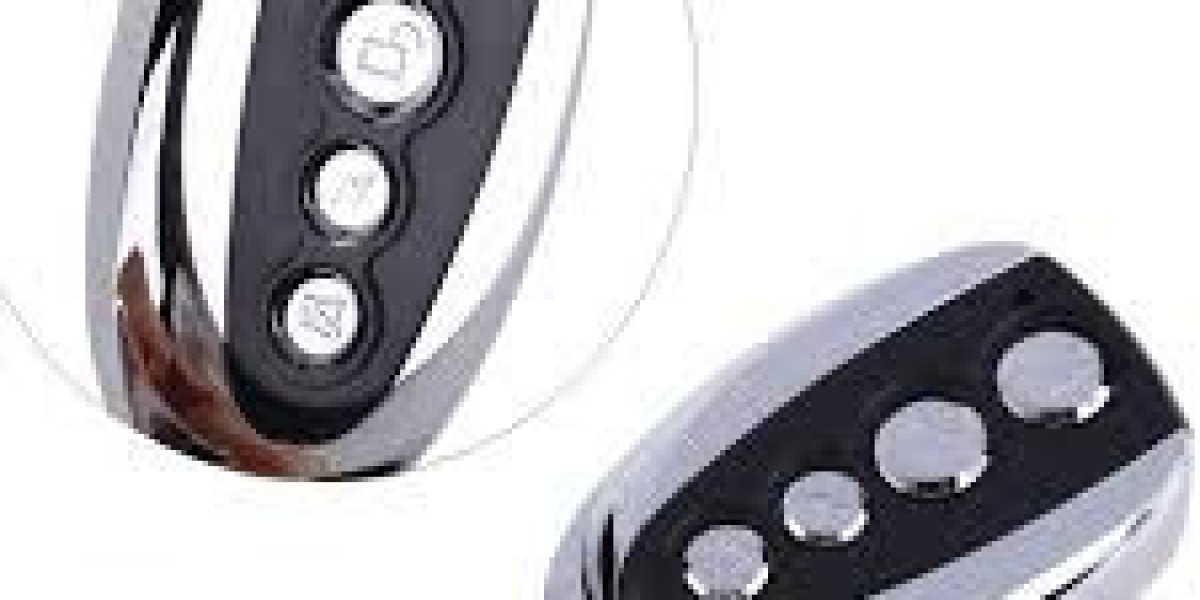
Auto remote controls, commonly known as key fobs or car remotes, have become essential for vehicle security and convenience. These small devices allow us to lock and unlock doors, pop trunks, and even start our cars remotely. However, like all electronics, they can malfunction. Whether your car remote has stopped working entirely or is just acting up occasionally, understanding auto remote control repair can save you time, money, and frustration.
In this comprehensive DIY guide, we’ll walk you through the most common problems, step-by-step solutions, and best practices for auto remote control repair so you can fix it yourself.
What Is an Auto Remote Control?
Before diving into repairs, it’s important to understand what an auto remote control does. Typically, a car remote communicates with your vehicle via a short-range radio signal. When you press a button, a coded signal is sent to your car's receiver, which responds with the requested action—locking the doors, for instance.
Modern remotes are often integrated with the key itself and include a small circuit board, battery, and antenna. Given the wear and tear these components face, issues can arise.
Common Problems That Require Auto Remote Control Repair
If your remote has stopped working or functions intermittently, here are the most frequent issues:
Dead or Weak Battery
The most common cause of remote failure is a dead or dying battery. Most auto remotes use coin cell batteries, which are inexpensive and easy to replace.Worn Out Buttons
Frequent use can wear down the rubber or plastic buttons, resulting in poor contact between the button and the circuit board.Damaged Circuit Board
Moisture, impacts, or age can damage the internal circuit board, making the remote unusable.Lost Programming
Some remotes may lose their programming if the battery is dead for too long or if a car’s electrical system has been reset.Broken Solder Joints
Over time, the connections between the battery terminals or buttons and the board can crack, especially if the remote is dropped often.
Tools and Materials Needed for Auto Remote Control Repair
Small Phillips or flathead screwdriver
Soldering iron (for advanced repairs)
Replacement battery (usually CR2032 or similar)
Contact cleaner or rubbing alcohol
Cotton swabs or a microfiber cloth
Multimeter (optional, for circuit testing)
Replacement remote housing or button pad (if needed)
Step-by-Step Auto Remote Control Repair
Step 1: Open the Remote
Use a small screwdriver to gently pry open the case. Some remotes have small screws, while others simply snap apart. Be careful not to damage the housing.
Step 2: Inspect the Battery
Check the battery type and replace it with a fresh one. Make sure it's installed in the correct orientation. Even if the battery isn’t fully dead, a weak one can cause erratic performance.
Step 3: Clean the Components
Use contact cleaner or rubbing alcohol on a cotton swab to clean the circuit board and the rubber pad under the buttons. Dirt and oxidation can prevent proper contact.
Step 4: Examine the Circuit Board
Look for any signs of damage, corrosion, or broken solder joints. If you're comfortable using a soldering iron, you can reflow broken joints or replace small components if necessary.
Step 5: Reassemble and Test
Put the remote back together and test it near your car. If it works, you’ve successfully completed your auto remote control repair!
Advanced Repairs
Reprogramming the Remote
Some vehicles allow you to reprogram a remote yourself. The procedure varies by make and model but often involves turning the ignition on and off in a specific sequence while pressing buttons on the remote. Consult your vehicle’s manual or search online for your specific car model.
Replacing a Damaged Circuit Board
If the circuit board is beyond repair, you can often purchase an identical replacement online. Make sure the new board matches your existing remote’s frequency and button layout.
Replacing the Housing
If the buttons are worn out but the electronics still work, consider replacing the housing or button pad. These are inexpensive and require minimal effort to install.
Preventive Tips to Avoid Future Repairs
Keep it dry: Water is one of the worst enemies of car remotes. Avoid using the remote with wet hands or exposing it to rain.
Use a protective cover: Silicone covers can protect the remote from physical damage and dirt.
Avoid unnecessary drops: Like any electronic device, repeated impacts can cause internal failures.
Change the battery regularly: Replacing the battery once every 1–2 years can prevent issues caused by low power.
When to Seek Professional Help
While DIY auto remote control repair is feasible for many common issues, there are times when it’s better to consult a professional:
The remote is physically broken beyond repair.
You’re unable to reprogram the remote.
The internal chip is damaged.
Your car requires specialized diagnostics to pair with the remote.
Dealerships and automotive locksmiths can provide replacement remotes, reprogramming services, and key cutting, though often at a higher cost.
Conclusion
Learning how to perform auto remote control repair can be a valuable skill that saves you time and money. Many issues, from dead batteries to minor circuit problems, can be resolved at home with basic tools and a bit of patience. As with any DIY project, always proceed cautiously and know your limits. With this guide, you now have the knowledge and steps needed to confidently tackle your own car remote issues.